Your Central Coast
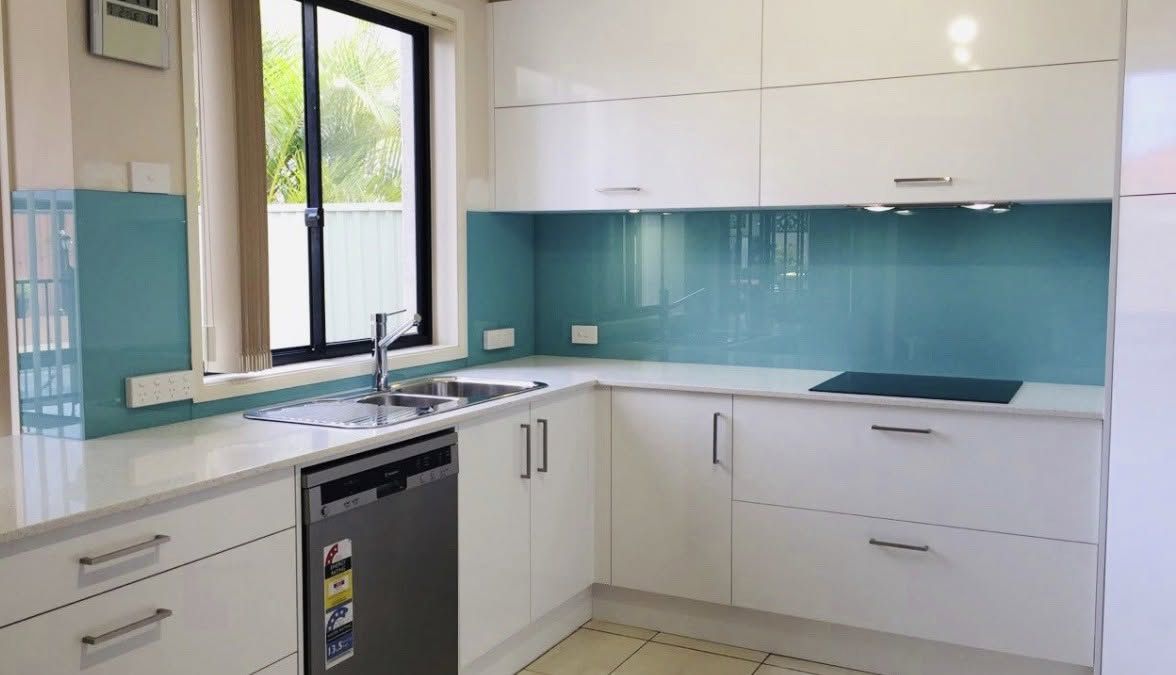
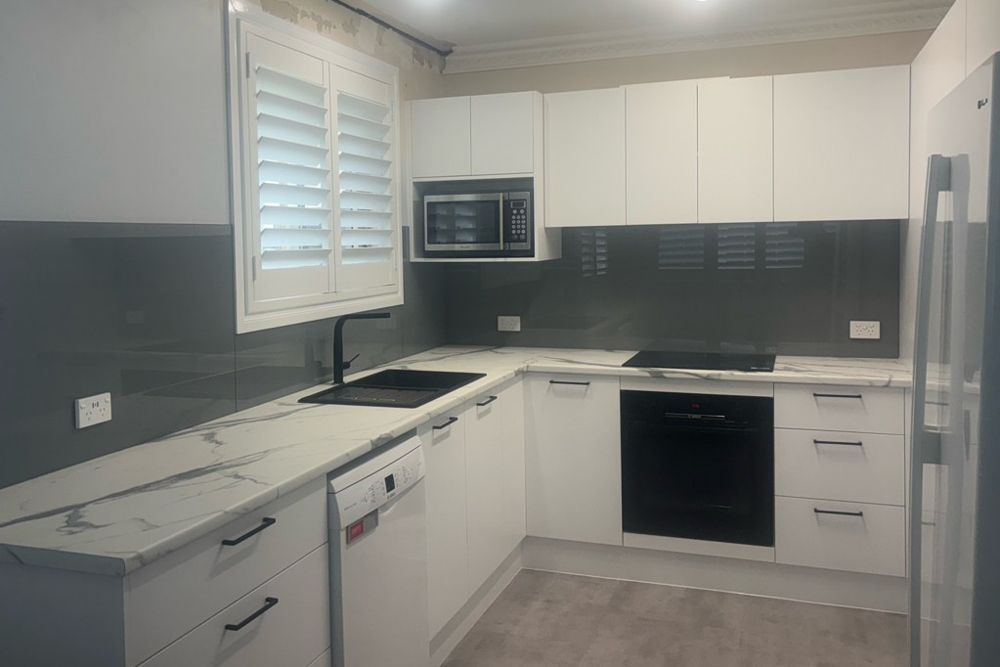
glass backsplash can be installed behind sinks or cookers and also can be used instead of tile between wall units and worktops.
It’s good to find a glass company that has experience in installing splashbacks correctly if you are not the DIY type or if you do not have time to fit it yourself.
Not all glass fitting companies are the same. We at Colour Splash have many years of experience with splashback installation.
We also can guide you if you want to install your splashback yourself.
Type of Glass
When you decide to get a glass splashback, it is important to use toughened glass. If you are using screw fixings to fix your splashback, then you will need to have your splashback Central Coast provider pre-drill the holes for the fixings.
Also, the cut-outs for telephone sockets, TV points, and power sockets have to be done before the glass for the splashback is toughened. These cannot be cut out after the glass has been toughened.
Any glass work needs to be done, and then, afterward, the glass can be toughened.
Additionally, you need to ask your splashback supplier and your cooker manufacturer if there is a requirement for a minimum distance between electric heating elements or gas jets.
Measuring
You need to draw out a plan of your wall to scale where your splashback will be covering it. It is important to accurately write down anything that is on your wall like cooker hoods, sockets, cupboards, and switches exactly where they are located.
If using screw fixings, you need to measure and mark accurately where these need to be when you submit your plan to the supplier of your splashback.
Remember, before the glass is toughened, any holes or cuts need to be made by your splashback supplier. It is pretty much impossible to adjust these once the glass is toughened.
Also, when measuring, make sure you allow for a 2mm gap all the way around to allow for the sealant to be applied preventing any moisture or water access unless you have your splashback going all the way down behind your cooker.
Preparation
Make sure to check the condition of and prepare your wall. You need to remove any wallpaper, scrape off flaking paint and sand down the surface of the wall to ensure it is flat for installation. You can’t apply glass splashback to wavy walls.
You need to wipe over your walls with a proper cleaning agent to get rid of grease and dust. You will also need to seal along the back of surfaces that the splashback will be close to also.
For More Information
We at
Colour Splash provide splashbacks along the Central Coast for many customers. We have the experience and professional know-how to install your splashback and give advice on installation.
Get in touch with us today if you have any questions!